Motorhome Control Online

I recently gave a general overview of my“smart RV”project. Today, I want to outline the first step: how can I securely connect the control system to the internet so that I can check the status (temperatures, gas levels, battery charge levels, etc.) while on the road and control various functions, such as the air conditioning or heating?

My RV is equipped with an Oyster Easynet router. The 12V power supply runs to it through cable channels, and I used these to install a 12V-to-5V USB converter to power my Raspberry Pi 4. The Raspberry Pi runs a standard Home Assistant image that I installed on the SD card using Raspberry Pi Imager. There, you can easily set up the Wi-Fi address and other settings so that the Pi is visible on the vehicle’s own network immediately after booting. The Oyster router assigns an address via DHCP, which conveniently remains stable—there isn’t much you can customize with the Easynet components.

To ensure that the Home Assistant instance is available online, you need to do the following. I have registered my own domain with my hosting provider (Domainfactory). Since I want to use Cloudflare, I need to set up the appropriate DNS servers there.

The next step is to create a free account on Cloudflare and add the domain you registered earlier. The penultimate step is to install and configure the Cloudflare app in Home Assistant. There, you must enter the domain that was also registered with Cloudflare. When you launch the app and everything has been done correctly, a callback link will appear in the log, which is used to establish the tunnel connection between the domain and Home Assistant.

Copy this, paste it into the browser's address bar, and you're done. If everything went well, you'll see that the connection is established when you restart the app.

To make sure everything is secure, I've set up IP blocking in the configuration.yaml file and also enabled 2FA for my login. No one can get in without a code from the Authenticator app.

http:
  cors_allowed_origins:
    - https://google.com
    - https://www.home-assistant.io
  ip_ban_enabled: true
  login_attempts_threshold: 3
  use_x_forwarded_for: true
  trusted_proxies:
    - 172.30.33.0/24

Then all that's left is to create a nice icon on my phone's home screen that takes me straight to my HomeAssiant in the RV. We're on the road. We're online.

Smart RV: Technology for Modern Travel

First off: there’s plenty to be said for why a motorhome should be—or become—“smart.” If you’re reading this, you’re most likely interested in the topic. Possible reasons include: keeping track of energy usage and being able to take action early on, controlling devices like the heating or air conditioning while on the road (so it’s warm or cool when you get back), or simply having a strong interest in technology.

For me, it’s a mix of all of these things, though the last point might be the most important one: my RV is equipped with outdated technology, and that just… doesn’t work. Sure, I could have paid more attention to that, but it’s also true that the whole “smart RV” concept is evolving rapidly.

Here's what the home screen of my mobile Home Assistant looks like now:

Home Assistant is accessible via the internet through Cloudflare and can therefore be controlled using a laptop, smartphone, etc. I’ve integrated quite a few things using various methods and can monitor everything related to power supply and gas consumption, as well as control the air conditioning. I have a few more projects planned, such as connecting the heating system, monitoring water tank levels, further optimizing the visualization, and implementing a few automation features.

My starting points were the blogs by Hannes Schleeh, who has consistently covered this topic on his site. When it comes to Home Assistant topics, I always enjoy checking in with Simon. And last but not least, I use Claude.ai quite extensively for various projects (whether for design, ESP32 or add-on programming, automation, or visualization).

I’ll be writing a post on each of the topics mentioned over time, and I look forward to hearing your thoughts.

64% (out of 75%) self-sufficiency

It all started in 2022—my solar power system was finally designed by SENEC and then installed by a local provider. The entire project went “live” in 2025; the battery had to be replaced, but everything is finally up and running. Time to take stock.

The paper calculation had shown a self-sufficiency rate of 75%, but the actual figures for last year came out to 64%:

Screenshot

Just a quick note about the setup: our house was built in 2019, features state-of-the-art insulation, and is equipped with a geothermal heat pump. No oil, no gas. Underfloor heating is a great option for this setup—and we have it installed.

I think 64% is okay, but it always breaks my heart to see how much surplus the plant produces and how little we get in return. There are certainly ideas out there (green hydrogen, pumped-storage power plants, compressed air storage, river batteries, etc.). Just take a look for yourself at how this is being done in California, for example, or what’s planned for the future. That shows me: it’s possible. If you want it. And if you think these issues through to the end.

In the meantime, I’m pleased that we’re moving toward 100% self-sufficiency starting in April, that everything is in order, and that the system’s depreciation is progressing as I’d hoped month by month. My next steps are now focused on optimizing the heating system, which I want to integrate more closely with the solar PV system. In theory, that should work…

Screenshot

When will the sun finally shine again?

Since my storage unit was replaced with the SENEC P4, there have been no more "good" sunny days, so I couldn't really judge how the new storage unit would perform. On December 27, the time had finally come - there was enough sun to fully charge the 4 installed cells.

Over the course of the day, 16.9 kWh went into the storage system and gradually came out again over 6 hours from around 3 pm. Of course, this reduces the costs enormously, but there was still no real grid feed-in and it should of course look much better when the sun is in the sky for longer.

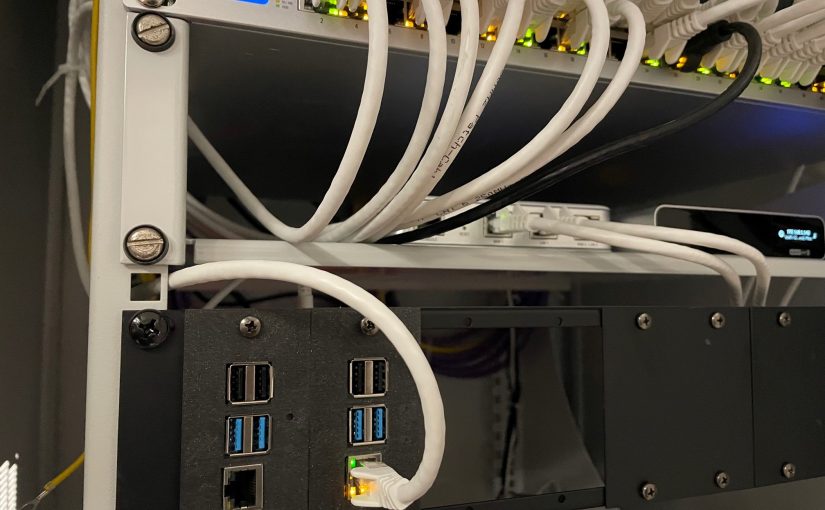
I've also started using Home Assistant to find out what the biggest consumers are. It's no surprise that the geothermal heat pump draws a lot, especially in winter. My network cabinet is also doing "very well". The dryer, washing machine, coffee machine, etc. are also always doing well. I work here with Shelly Plug S plugs for power consumption measurement and the HACS AddOn PowerCalc. How all this works, including measuring the consumption of the heat pump, will be explained in subsequent articles.

Mission SENEC.Home P4 in the Home Assistant: completed.

Using the SENEC Web API and converting kW to kWh with helpers that convert the power curve using Integral worked. After about a full day, I was able to compare the curves in the Energy Dashboard and the SENEC iOS app. As both use the same database and the curves are identical, everything seems to have worked. I'm quite happy with that. Next, I'll see how I can get my geothermal heat pump into the dashboard as a consumer.

Oh yes, I often only find the best tips when everything is done. Is it the algorithm? Who really knows. In any case, here is one of the best tutorials on the energy dashboard that covers all the relevant aspects:

Energy dashboard problems with SENEC.Home P4

The Home P4 is installed and seems to be running. As I said, I'm waiting for the sun to come out so that I can see how many kWh are going into the storage system. And then go out again when necessary. Everything is displayed perfectly in the SENEC iOS app, but the Home Assistant energy dashboard no longer works. This is because the P4 is not (yet) supported and therefore the generic Web API must be used.

Said and done. But nothing is displayed or the corresponding sensors cannot be selected in the dashboard configuration. After a bit of research, I found out that the reason is that the Web API only displays the values in kW. However, the dashboard would like to have these aggregated in kWh. So I did some more research and lo and behold: you "simply" (if you know how) create a helper instance for each value - a total integral sensor, right? This then collects the kW values for an hour and they become kWh. I left the metric prefix empty. At the beginning I had "k" (kilo) in there, but that resulted in kkWh. So too small by a factor of 1000. The time unit is hours, the input sensor is selected from the Web API and bang, you can integrate the new sensor. But it's not quite as quick as that, there has to be a certain history first. And then something happens again in the dashboard. Over the next few days, I will find out whether this is the case by comparing it with the iOS app and the values from the Web API. Another step forward.

My switch to the SENEC.Home P4 hybrid: initial findings

In February, my Home 4 storage system was installed, which was throttled down to 70% by SENEC. At the beginning of November, the time had come - my storage system was replaced. Before I go into this, I'd like to share some experience with the "old" storage system, which I had ordered with 12.6 kWh. If I convert this to 70%, that makes approx. 8.8 kWh. My house consumption in summer was 0.5 kW, which, in my (perhaps too amateurish) opinion, should have been enough for many hours to easily get me through the night. But that never worked out, after 6 hours it was always the end of the day and the grid had to kick in again. If I do the math, I end up with just 3 kWh, let's say a generous 4 kWh. That's roughly 32%.

This is of course a joke and I ask myself: who has also had this experience? And: who knows how SENEC will compensate for the lost capacity? I will definitely look into this further and contact my general contractor, but also SENEC itself.

Now to the Home P4 hybrid. I didn't believe that it would be replaced in the near future, but it was D-Day at the beginning of November and the memory was replaced. Not the battery modules and the control unit, no, the entire device. It looks exactly the same on the outside as it does on the inside. The necessary updates were carried out via the Internet connection (unlike the Home 4, where several USB sticks had to be sent to the installer), the replacement was completed within 2 hours and everything looked the same as before, except ...

  • only 5 instead of 6 battery modules fit into the storage unit
  • Home Assistant integration has not worked since then(1)

I've only had 1 really sunny day since then, so I can't judge whether the battery charges to 100% (so far the maximum value has been around 80% . after all) and how far I get with it in phases without sun. It would be so easy if it were easier ... but it isn't. I will report again.

(1) In my opinion, this is because the new storage systems are only read out indirectly via the Web API via the SENEC portal and the units of measurement do not match the energy dashboard (e.g. kWh are not returned for the PV electricity generated, but kW - the dashboard does not like this. However, it is possible to convert this.

The energy transition at home - from the idea to operation. Experience with SENEC, Home 4 Storage, Home Assistant, and much more.

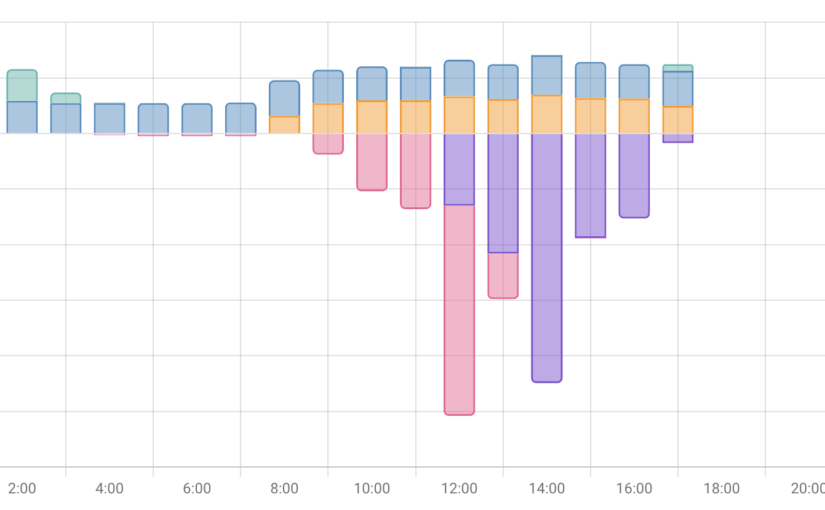
I'll start the description of my adventure into independence from oil and gas at the end. The PV modules are on the roof, the battery storage system is installed, everything is integrated into Home Assistant. And I'm delighted every day to see how cool it is to cover a very large part of my energy needs from the sun (the picture in the article shows the time curve with energy generation and consumption). The integration into Home Assistant was actually the easiest, but more on that later.

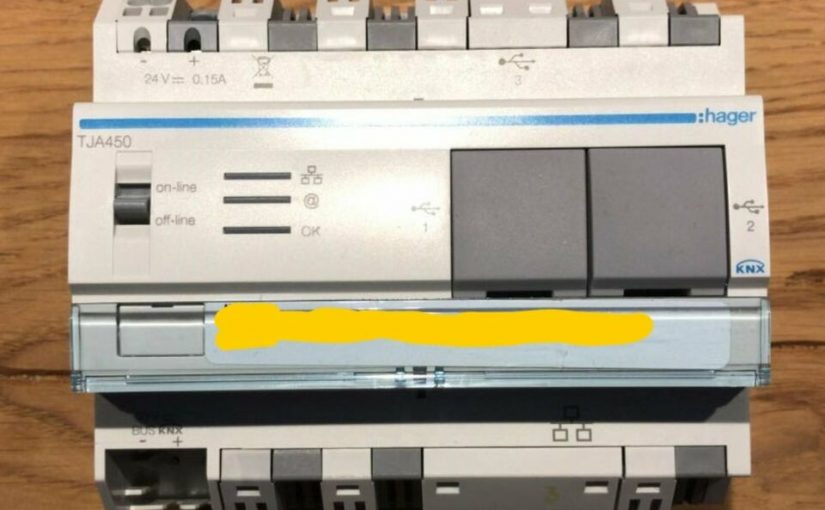
I already set out on this path when we were planning our new home in 2018. It was already clear to me at the time that I no longer wanted to be dependent on oil and gas in the foreseeable future. That's why we planned a geothermal heat pump (with appropriate subsidies). The drilling, house connection, heat generation (underfloor heating), hot water, etc. also went very smoothly. Just a quick note here: the heating circuit valves are KNX-capable and can therefore also be controlled via Home Assistant.

All those years I found the charm of PV systems ... rather suboptimal, but that has changed with the new regulations. The subsidy is right, availability has halfway normalized again after Corona, so I requested a consultation with SENEC at the end of 2022 after looking at various providers. Why SENEC? My thought was: they belong to EnBW and will certainly still be around tomorrow and should know how to do something like this. And the "SENEC Cloud", i.e. accessing energy from an account that you can call up again via your own feed-in, also makes an electric car interesting for me for the first time.

Fast Forward: everything has been running since February 12, 2024. Electricity is produced by the sun, the battery is charged and supplies electricity to the house again after sunset. But not at all as it should be. SENEC is currently throttling all storage systems to 70%, which is quite annoying. This is probably because the battery modules currently installed are not safe. And should therefore be replaced. The question is: when?

I will gradually be writing more articles about the various phases of this project and, as always, I look forward to the exchange. Let the sun shine!

My new rocket: Mac Mini 2014

As I have written before, I don't really care which computer I use. I can be an Apple, a Windows machine, or something else. I have an old Mac Mini from 2014 that I use for managing my music library, for some playback, and minor audio editing stuff. Lately, I was more and more frustrated, because the machine seemed to get slower and slower. I took ages until it started and was usable. Also, there was a lot of dead time when the machine seemed to be idling.

So I started to do some research whether I can fix or whether I need something new. The hardware is still good for a Mac Mini: 2.6 Ghz, 16G of RAM, and 1TB hard disc. How to unleash this power again on an 8 year old computer?

I found this step-by-step guide that contains many useful links like cleaning up autostart items, removing slowing down settings with the free tool KnockKnock, cleaning up the hard disc, etc. I found that I have already applied some of these tips but some not. I went through the entire exercise but the results were not that promising. Startup time was better, but responsiveness not.

During my research I have also found some commercial tools helping you to clean and speed up your Mac. You can find a comprehensive description of "CleanMyMac X" here. The software is very powerful and goes much deeper than anything you can do yourself. Besides an initial "get clean" scan, it can be used to "stay clean" and stay happy. My Mac Mini feels like a new machine and the tradeoff is great: 50 EUR for a perpetual license (break even of subscription in 2 years) vs. re-installing the OS and the apps vs. buying something new.

ADDENDUM: after a few days working with the Mini, I still can't believe it. It feels like a new machine and is all fun again. Thanks to the IT god for the healing.

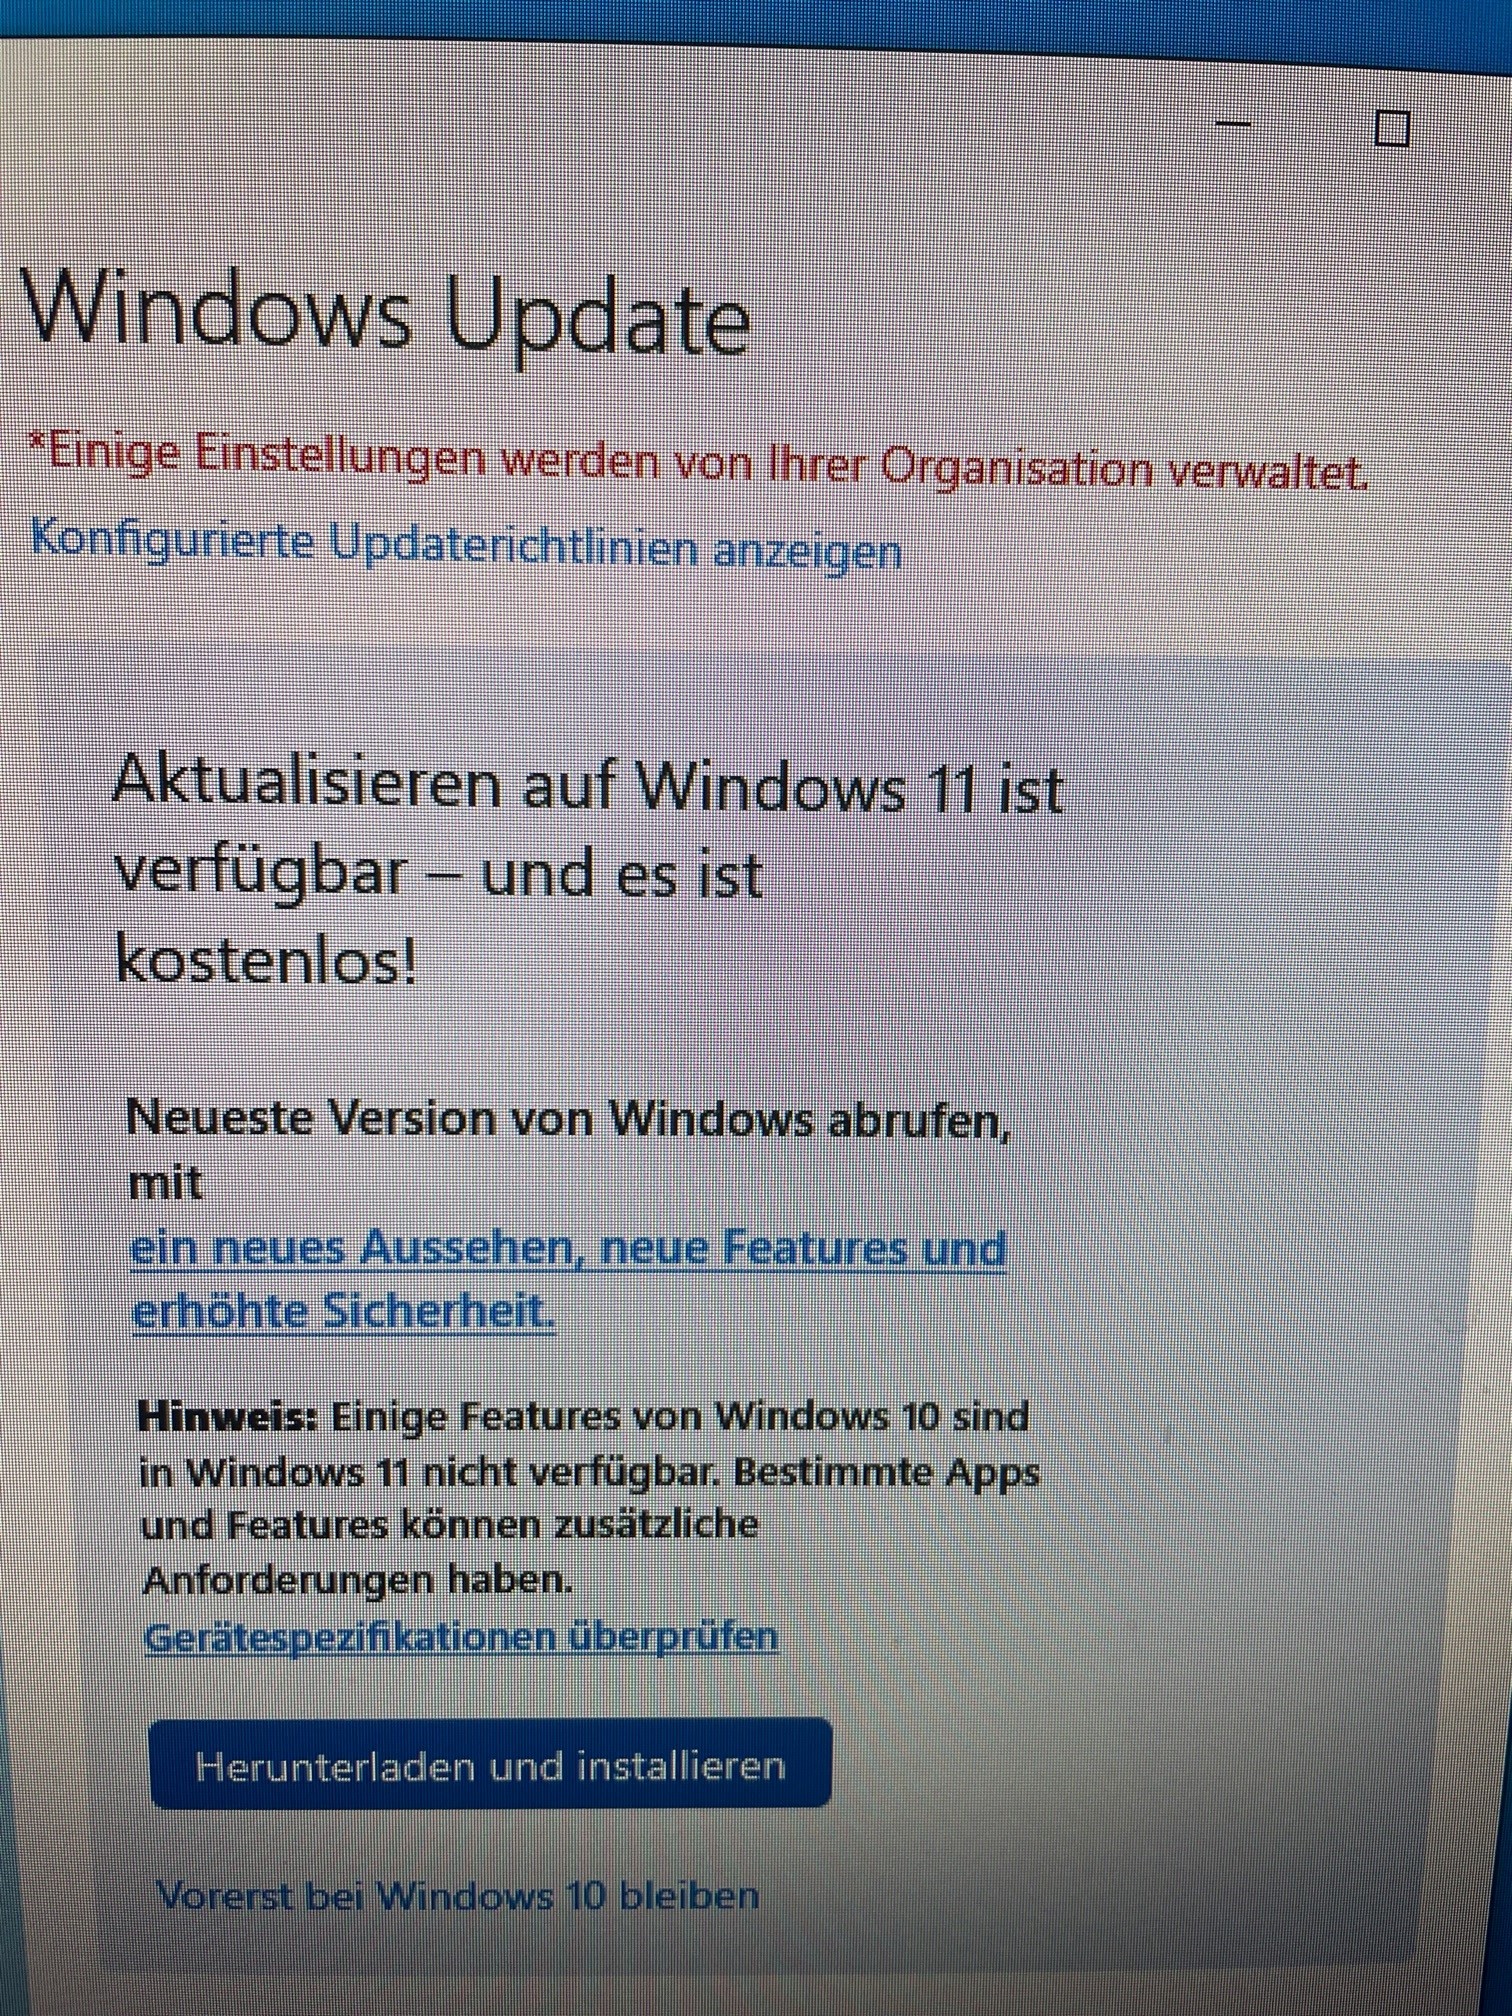
I did it: Upgrade to Windows 11

I am quite dispassionate about operating systems and hardware. I use macOS, iOS, Linux and Windows. Windows has actually been around the longest - since release 2.1 in 1988.

Today, it's important to me that it shouldn't matter which computer I'm sitting at. The data is in my own or a public cloud and the typical office software is also available everywhere. Only a few specific programmes (e.g. for sound, image or video editing) run only on certain machines.

And yesterday, the time had come for my Windows computer (an Intel NUC): the upgrade to Windows 11 was available.

This is always a special moment, as there is a not unjustified concern that things will somehow go wrong. Catchphrase: "never change a running system!". But hey, nothing ventured! The data is not on the machine anyway, system reset point created and off you go ...

... and an hour later I could log in again. That feels like a small IT miracle. Now it's time to get familiar with the new features. Here's to your upgrade going as smoothly.